Class of 2017, the block size needed is 8.5″ x 8.5″
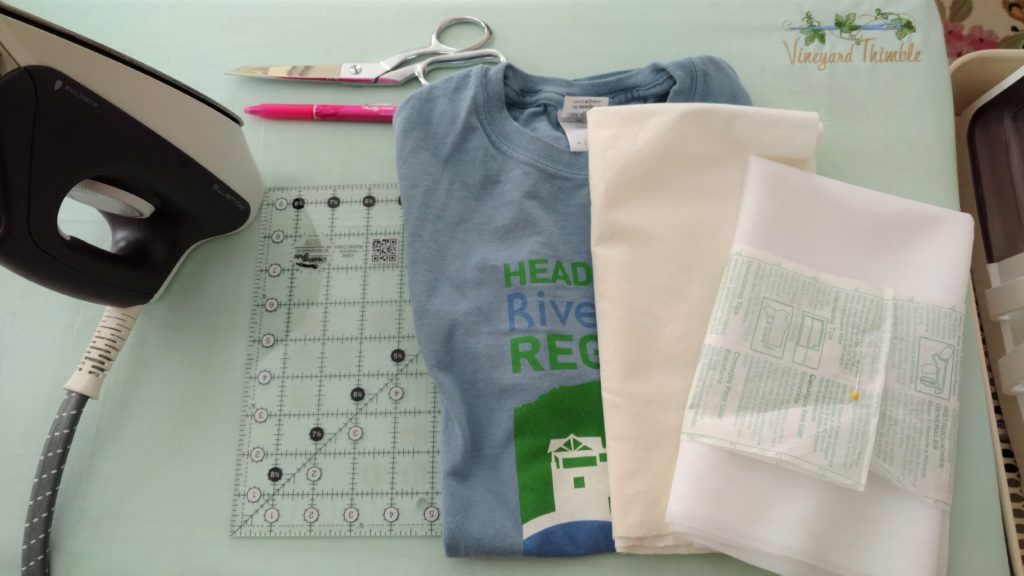
This is what you will need to make a quilt block using a t-shirt.
- A clean t-shirt
- damp press cloth
- non-woven fusible interfacing (I am using Pellon Ek130Easy-Knit. Available by the yard at fabric/craft stores) cut a piece larger than the area you will be using as your quilt block
- scissors or rotary cutter and mat
- pencil with a dull tip (I am using a Frixion pen, the markings are erased with the heat of an iron Amazon affiliate link )
- ruler or template
- iron set to Wool/Silk with steam
- ironing surface
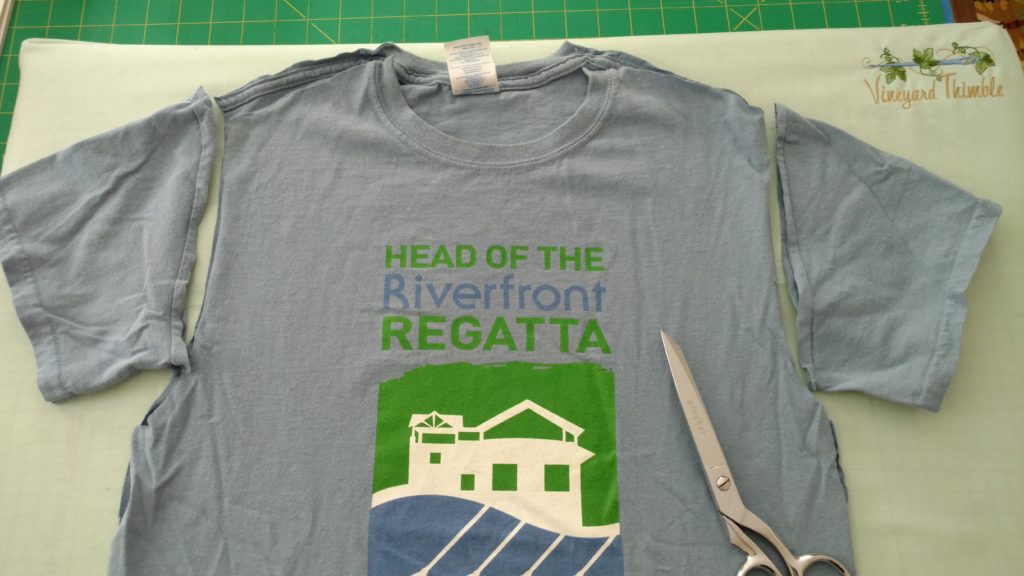
The first step in preparing your t-shirt will be to cut off the sleeves. Then cut across the shoulders and down the sides separating the front from the back.
Discard the sleeves. If the back is not printed with a graphic, set it aside.
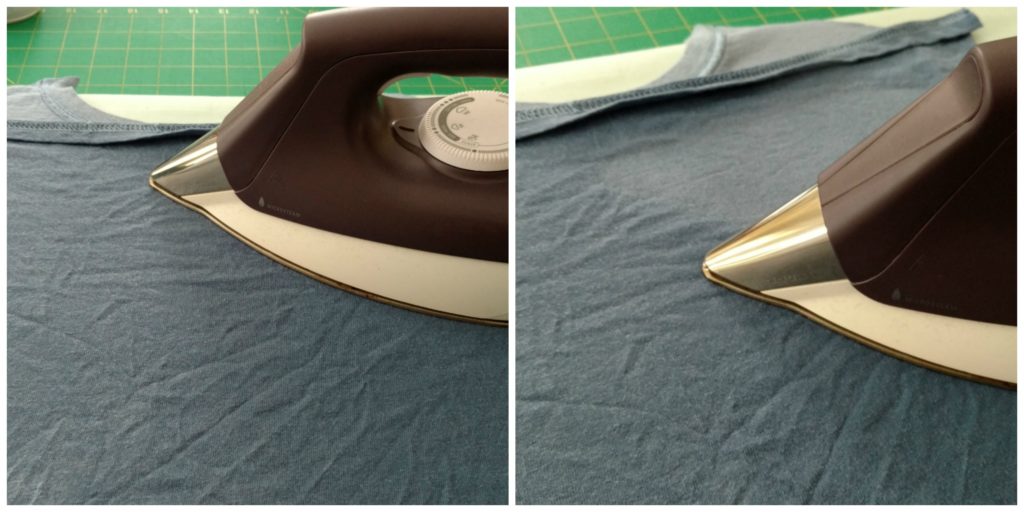
1) Turn the front of the t-shirt over and give it a press with an iron set to Wool/Silk w/steam.
If the back of the t-shirt doesn’t have any graphics, it can be used as a press cloth. To dampen it, wet your hands and use the T to dry them. Repeat this step until the T is sufficiently dampened, similar to a wet dish towel.
2) Place your interfacing glue side down onto the back of the ironed T-shirt. TIP The glue side of the interfacing is rough with bumps. TIP T-shirts stretch more side to side than they do the top to bottom. Lay the interfacing with it’s the stretch going opposite to that of the T-shirt. To determine the stretch of each, simply tug the edges side to side and top to bottom to determine which direction has more stretch. This is a really important process because the WATquilt hangs for an entire year. The interfacing stabilizes the T-shirt fabric which prevents it from stretching and curling during the quilt construction and also helps to keep it from sagging once finished. It’s even more important if the block will be embellished in any way.
3) Now cover the interfacing and T-shirt with the damp T-shirt or press cloth
BE SURE TO READ THE MANUFACTURES INSTRUCTIONS FOR THE INTERFACING YOU ARE USING. My instructions say to set my iron to the wool/silk setting with steam and to press each spot for 10 seconds. Lay the iron straight down and hold for the recommended time. Lift straight up and move the iron to the side with a slight overlap. DO NOT SLIDE IRON BACK AND FORTH, LIFT UP AND DOWN. My press cloth was almost dry by the time I ironed the entire surface.
Remove the pressing cloth and allow the T-shirt to cool. Then turn it over and mark the size of your block. Class of 2017, you will be cutting an 8.5″ x 8.5″ square. Carefully cut out your block using either scissors or a rotary cutter and mat. All done!


